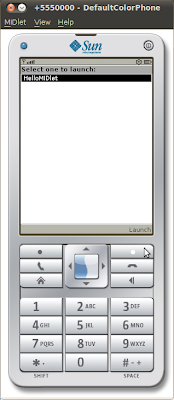
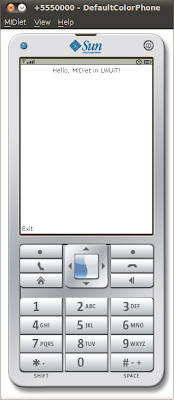
It's supposed that NetBeans 6.9 have been installed correctly.
Before start coding, we have to download and install LWUIT.
-Download LWUIT and unzip in any folder you want.
http://java.sun.com/javame/technology/lwuit/
Create a MIDlet project
- Run NetBeans and start a new Mobile Application.
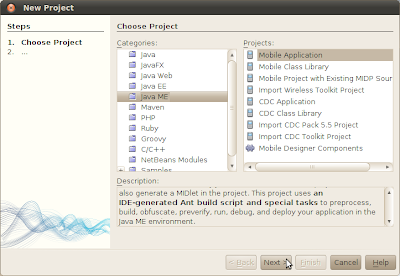
- Enter name of your project, HelloLWUIT. Un-select Create Hello MIDlet, click Next.
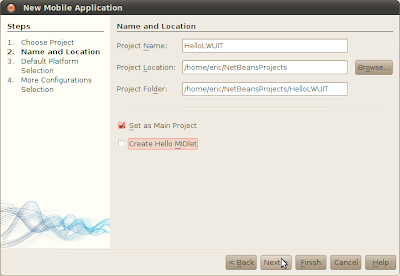
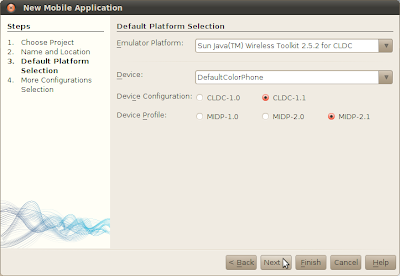
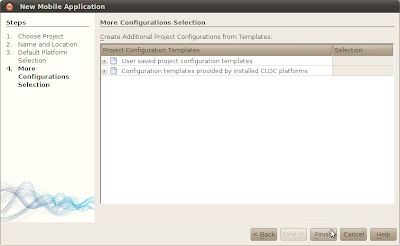
- Accept the default platform selection and configuration selection
Add LWUIT 1.3 in the project.
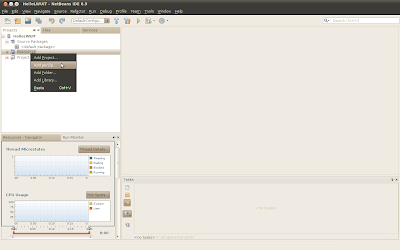
- In the Projects pane, right click on Resources, click Add Jar/Zip.
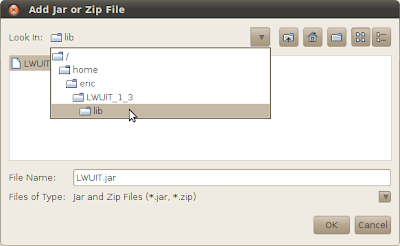
- Browse to the location of the downloaded and unzipped LWUIT.jar, click OK.
Start coding
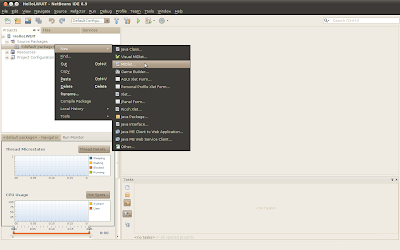
- Right click our project package to New a MIDlet
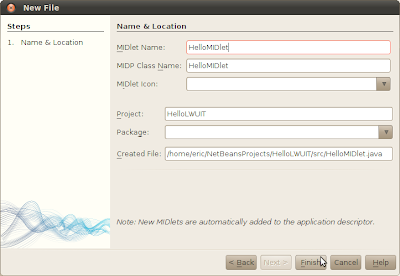
- Enter the name and click Finish.
- Type in the code:
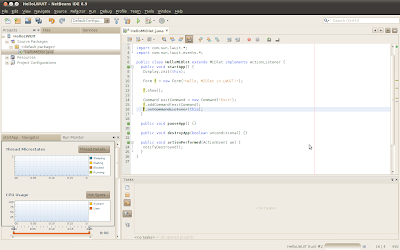
import javax.microedition.midlet.*;

import com.sun.lwuit.*;
import com.sun.lwuit.events.*;

public class HelloMIDlet extends MIDlet implements ActionListener {
public void startApp() {
 Display.init(this);

 Form f = new Form("Hello, MIDlet in LWUIT!");

 f.show();

 Command exitCommand = new Command("Exit");
 f.addCommand(exitCommand);
 f.setCommandListener(this);
}

public void pauseApp() {}

public void destroyApp(boolean unconditional) {}

public void actionPerformed(ActionEvent ae) {
 notifyDestroyed();
}
}
Finally, you can run it now.
